Cleaning Rebuildable Atomizers: The Ultimate Step-by-Step Guide for RDA, RTA & RDTA Users
Tired of dull flavor, burnt hits, or restricted airflow?If you're a fan of RDAs, RTAs, or RDTAs, you already know the beauty of custom coil builds and fine-tuned vaping. But here’s the catch: even the best builds won’t perform well if your gear is dirty.
Coil gunk, burnt cotton, and leftover e-juice residue don’t just mess with your flavor—they shorten your coil life and could even impact safety.
Whether you're a casual builder or a full-blown coil artist, this guide will show you exactly how to clean your rebuildable atomizer—step by step—to bring your vape back to peak performance.
Quick Navigation
- Why Clean Your Rebuildable Atomizer?
- When Should You Clean an RDA or RTA?
- What You’ll Need
- Step-by-Step Cleaning Guide
- Deep Cleaning vs. Routine Maintenance
- Final Tips for Better Performance
- Frequently Asked Questions
- Join the Newsletter
Why Clean Your Rebuildable Atomizer?
As you vape, your atomizer builds up:
-
Residue from sweet or dark e-liquids
-
Burnt cotton fragments
-
Carbon buildup on the coils
-
Dust, debris, and condensation
Neglecting regular cleaning leads to:
-
Muted or burnt flavors
-
Blocked airflow and spitback
-
Reduced coil longevity
-
Poorwick absorption
-
Inaccurate ohm readings
Bottom line: If you're not cleaning it, you're not vaping at your best.
When Should You Clean an RDA or RTA?
✔ Every 3–5 days for frequent vapers
✔ Every time you rebuild your coils
✔ When switching e-liquid flavors
✔ If your vape starts to taste off or feel harsh
✔ When airflow feels tight, noisy, or uneven
What You’ll Need
Gather these cleaning tools:
-
Warm water or 91%+ isopropyl alcohol
-
Small bowl or container
-
Coil brush or old toothbrush
-
Paper towels or microfiber cloth
-
Ceramic tweezers or tongs
-
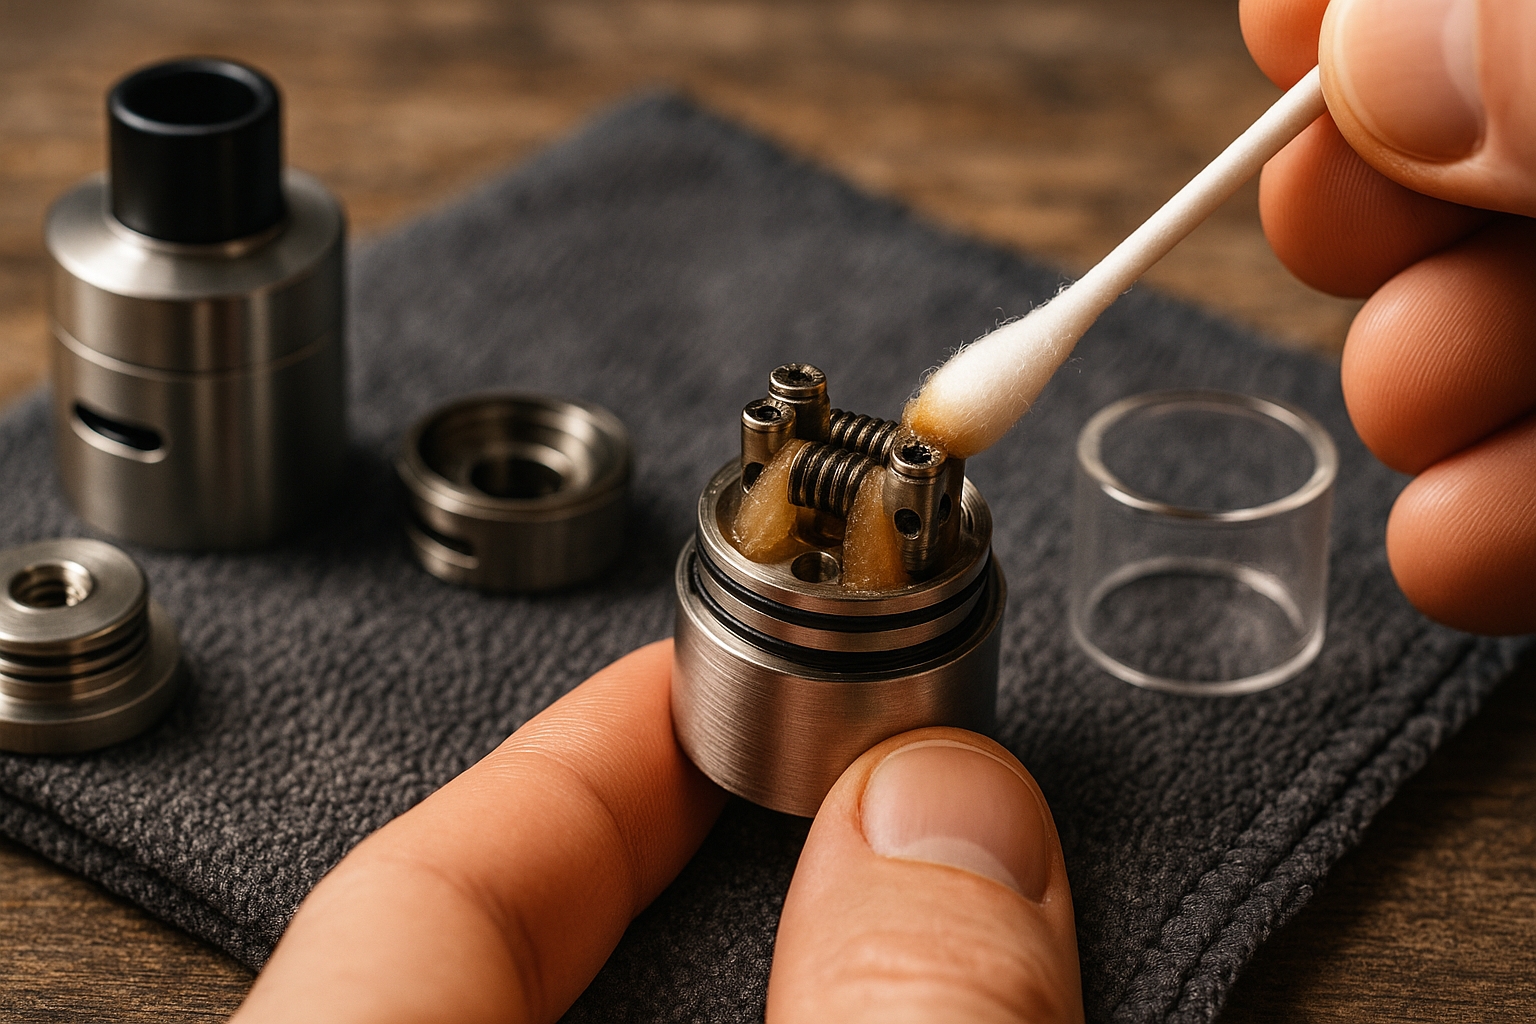
Cotton swabs or Q-tips
-
(Optional) Ultrasonic cleaner for deep cleans
Step-by-Step Guide to Cleaning Your RBA
Step 1: Disassemble the Atomizer
Take apart the drip tip, top cap, deck, airflow ring, and tank (if applicable). Remember the order for easy reassembly.
Step 2: Remove the Wicks and Inspect the Coils
Take out the old cotton. If the coils are worn or caked with gunk, it’s time to replace them.
Step 3: Dry Burn the Coils (If Reusing)
Without cotton, pulse your fire button until coils glow evenly red. This burns off residue. Let cool completely.
Step 4: Brush the Coils Clean
Use a brush to gently scrub off any remaining debris. Rinse with warm water if needed, and dry thoroughly.
Step 5: Clean All Atomizer Parts
Soak non-electrical parts in warm water or isopropyl alcohol for 10–15 minutes. Scrub gently to remove buildup.
Step 6: Rinse and Dry
Rinse everything with clean water. Pat dry or let air dry. Avoid getting water into the 510 connector.
Step 7: Reassemble and Rewick
Reinstall clean or new coils. Wick with fresh cotton, reassemble your device, and enjoy a fresh, flavorful vape.
Deep Cleaning vs. Routine Maintenance
| Type | When to Do It | What It Involves |
|---|---|---|
| Routine Clean | Every few days or wick change | Dry burn, light rinsing, wipe-down |
| Deep Clean | Weekly or heavy use | Full disassembly, alcohol soak, coil replacement |
Pro Tip: Want a faster, more efficient deep clean? An ultrasonic cleaner is a great investment for rebuilders! Also, make sure you're using the best wattage settings for your coils to avoid buildup.
Final Tips for Better Performance
-
Avoid sugary or dark e-liquids—they gunk up faster
-
Let everything dry 100% before using. To get even better results, understand the VG:PG ratio that fits your style for a cleaner vape.
-
Change cotton every 1–3 days to avoid overheating and reduce the chance of dry hits.
-
Use high-quality coils and organic cotton
-
Stick to a regular cleaning schedule for consistent flavor
Frequently Asked Questions
Can I clean my coils instead of replacing them?
Yes—if they’re not damaged. Dry burning and brushing can extend coil life.
Is it safe to use isopropyl alcohol?
Yes, use 91%+ strength, rinse thoroughly, and allow parts to dry completely before reassembling.
How often should I clean my tank?
Weekly or whenever you change flavors for best results.
Get the Best Out of Your Builds
Want next-level flavor, longer coil life, and smoother airflow? It all starts with clean gear—and we’ve got you covered beyond this guide.
Subscribe to our Newsletter for:
-
Pro coil-building tips
-
Maintenance tricks that extend gear life
-
Exclusive subscriber-only deals on cotton, coils, and tools
-
Early access to the latest RDAs, RTAs, and more
Got a coil cleaning tip of your own?
Drop it in the comments below—we’re building a vaping community one clean atomizer at a time.